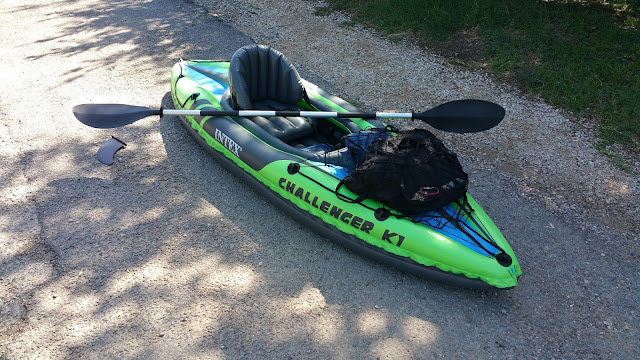
I bought this inflatable kayak made by Intex a few weeks ago. I've taken it out 3 times so far and love it.
I bought mine at Academy Sports & Outdoors for $69.99. It comes with the kayak, air pump, 84 inch paddle, some repair patches and a carrying case.
My first impression is that this is well built. It's heavy, about 30 pounds. It's not a cheap pool toy! It's made of a pvc/rubber material that feels thick. Intex makes inflatable swimming pools so they know a thing or two about inflatable products!
The included instructions are a bit confusing but here's all you need to know.
1. Unroll kayak on ground. Make sure there are no debris or rocks.
2. Pump up chamber 1. It's inside the kayak on the right side. Make sure you screw the main valve and only open the top cap. These are Boston Valves which allow fast deflation and easy inflation.
There is a clear ruler included. There is a measuring guide next to the valve. Don't over inflate!
3. Pump up chamber 2. It's on top on the back. The measuring guide is to the right of the valve.
4. Inflate the green footrest/support. There is a tip on the pump hose that will fit the footrest and seat. Don't over inflate. This goes inside to the front of the kayak. This provides some stiffness on the front and makes sure your feet don't go too far up.
5. Inflate seat. 2 chambers. Install seat. There is velcro on the floor of the kayak and the bottom of the seat. Curl the top section of the seat inside of kayak and clip in straps to floor of the kayak.
6. Don't install the Skeg (plastic fin) until you're ready to go. The rounded point should be facing the rear. Make sure the fin clips into the base. It should not come out.
7. Assemble the paddle. You can offset one side for better ergonomics if you want.
8. Set in water and get in! There is space behind the seat (though you'll have to put that stuff in before you install the seat and won't be able to access it. This is a good place to put the pump and carrying case. On the front, there is a nice cargo net that can accommodate a backpack and or small cooler.
The kayak feels stable. Just don't lean too far to the right or the left. There are some complaints that the kayak doesn't track well. I found this to be true but not a huge issue. Just make sure your weight and any cargo is evenly distributed. That should help.
It's not a fast kayak but that's not why I bought it. I bought it to sort of lounge around and relax.
That said, the paddles are a little on the short side which makes for uneven strokes at times. You could certainly buy a new paddle if you wanted.
When it's time to pack up, I find that releasing the air on top first helps. It takes about 5 minutes for each chamber to deflate fully. You'll need to hold the top up while deflating the bottom chamber. I find that folding the sides of the kayak in and then folding from one end works well. The included carrying bag is not the best. There are only handles and no should strap. I had an old wheeled duffel bag lying around and use that. It works great.
 |
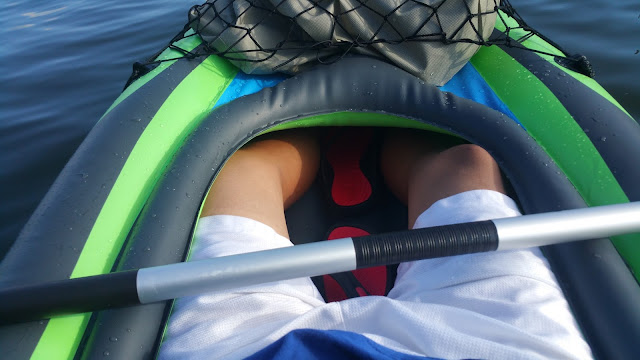
| A little snug but overall comfortable |
Of all the complaints that I've read about this kayak, it's mainly quirky minor issues but rarely the actual build quality of the kayak.
Here's an update from my 5th trip out!
Got the inflation and deflation routine down. Usually in the water in about 10 minutes and packed up in 15.
* Don't forget your safety equipment. Any public river, lake, reservoir or other body of water in the US require that kayak users have a USCG Type I,II or III life jacket (1 for solo kayaks and 2 for tandems) and a whistle. Also check with state and local restrictions.
~~~~~~~~~~~~~~~~~~~~~~~~~~~~~~~~~~~~~~~~~~~~~~~
Visit my and subscribe to my youtube channel!
Visit my ETSY shop!
All photos taken by Paul Clough.
© All Rights Reserved. Please contact for permission to use photos.

